Tips and Tricks for Installing RGB Strip Lights Effectively
RGB Strip Lights are perfect if you want a flexible and controlled environment. Their slim, elongated shape makes them the ideal choice to provide ambient brightness in hard-to-reach areas. Next, you can find the steps to install RGB strip lights quickly and effectively.
How to Install RGB Strip Lights?
When it comes to installing RGB strip lights correctly, you need to follow a series of steps. However, make sure you have the following tools before proceeding with this task:
- Scissors
- Tape measure
- Double-sided tape (optional)
- Ladder (if installed on the ceiling)
Once you have these tools, you can begin the process by following the steps below:
1. Choose the surface where you will make the installation
The first thing you need to do to install RGB strip lights effectively is choose the location where you will be installing them.
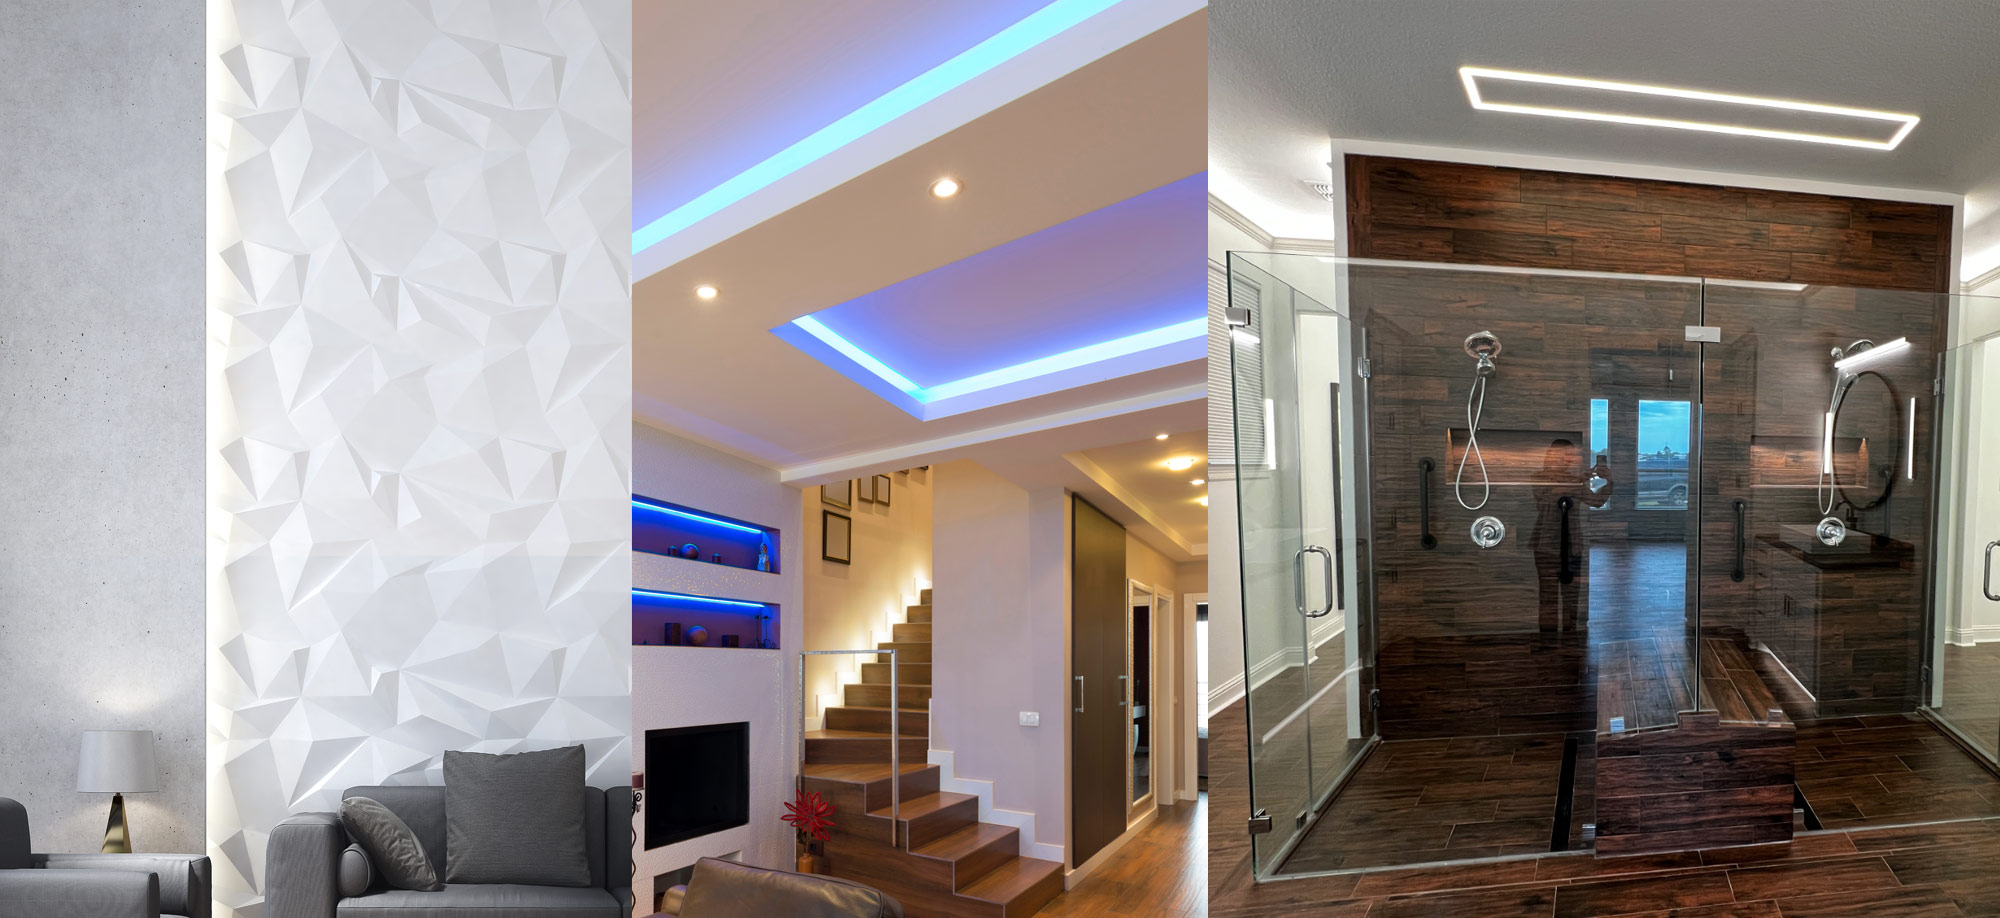
For example, add lights under kitchen countertops, around an island, or above cabinets for a subtle glow. If you want to add color to a game room, you can install the strips either on the ceiling or behind the TV, while if you’re willing to make the bedroom more spacious, you can install the RGB strip lights behind the bed frame or under the bed.
Before installing any RGB strip lights, ensure an electrical outlet is nearby. If you have chosen to install them on a wall or ceiling, it is advisable to use wireless lights.
2. Measure the surface
After choosing the installation area, measure it. RGB strip lights are adjustable, allowing you to adapt them to various lengths.
3. Adjust the RGB strip lights
If the length of the installation area exceeds the length of the lights, purchase a separate strip extension. Connect the extensions by removing the plastic covers at each end and connecting one strip to another.
Avoid bending or connecting the RGB strip lights at a 90-degree angle; instead, make a small loop or use a flexible connector to change direction. If the area is shorter than the RGB strip lights, trim the strip along the marked lines.
Only cut along the marked areas to avoid permanent damage. Before cutting or extending the lights, ensure they are unplugged for safety.

4. Clean and dry the surface
Prepare the surface using a damp cloth to remove any oils or residues. Remember that the adhesive for RGB strip lights is strong; removing it could damage surfaces or walls. If you plan to move or reinstall the lights, use a double-sided adhesive for better flexibility.
5. Place the strip lights
Once the surface is ready, installing the RGB LED strip becomes straightforward.
Peel off the back of the adhesive strip light, press it firmly against the surface, and hold for at least 10 seconds or until the strip adheres securely. Repeat the process of pressing and holding every 6 inches along its length.
At SIRS-E, we offer the latest lighting solutions
If you are looking for the best RGB light strips on the market, at SIRS-E we have a catalog with innovative products from the best manufacturers so you can offer your customers reliable lighting solutions that meet the latest standards.


Leave A Comment
You must be logged in to post a comment.